1: GitHub and Hugging Face Sign-up
GitHub Sign-up
- Open the GitHub website: https://github.com
- Click on "Sign up" in the upper right corner.

- Enter your university email address.
- Create a password and choose a username.
- Follow the prompts to create your personal account.
- During sign up, you'll be asked to verify your email address. Without a verified email address, you won't be able to complete some basic GitHub tasks, such as creating a repository.
Hugging Face Sign-up with GitHub Account
- Visit the Hugging Face website: https://huggingface.co
- Click on "Sign up" in the upper right corner.
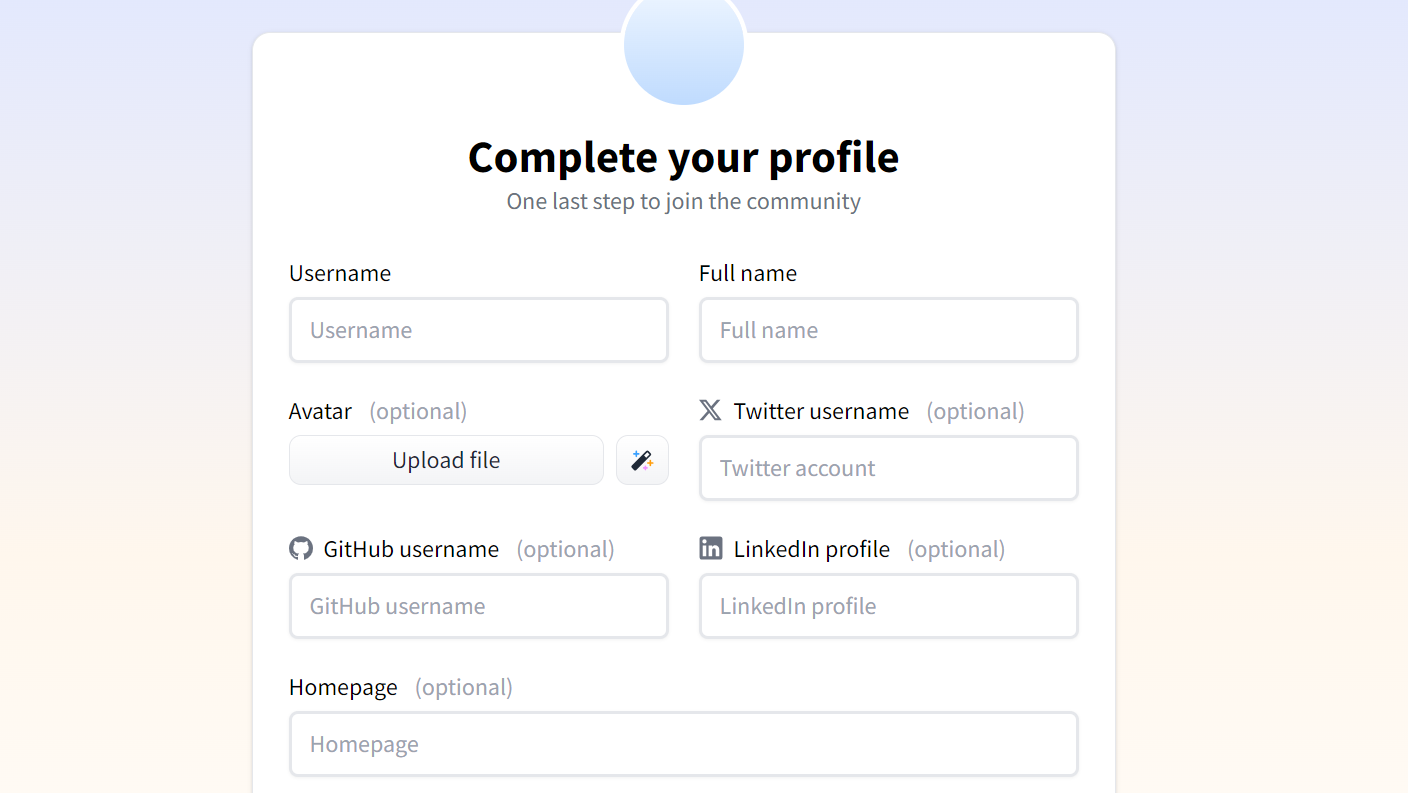
- On the sign-up page, you'll see a form with the following fields:
- Click on the "Next" button.
- Complete your account. You can also connect the account with GitHub by entering your GitHub username.
- After completing the sign-up process, you can log in to Hugging Face using your email address and password.
2. How to Create a GitHub Repository
Create a New Repository on GitHub
- Log in to your GitHub account.
- Click the '+' icon in the top right corner of the page.
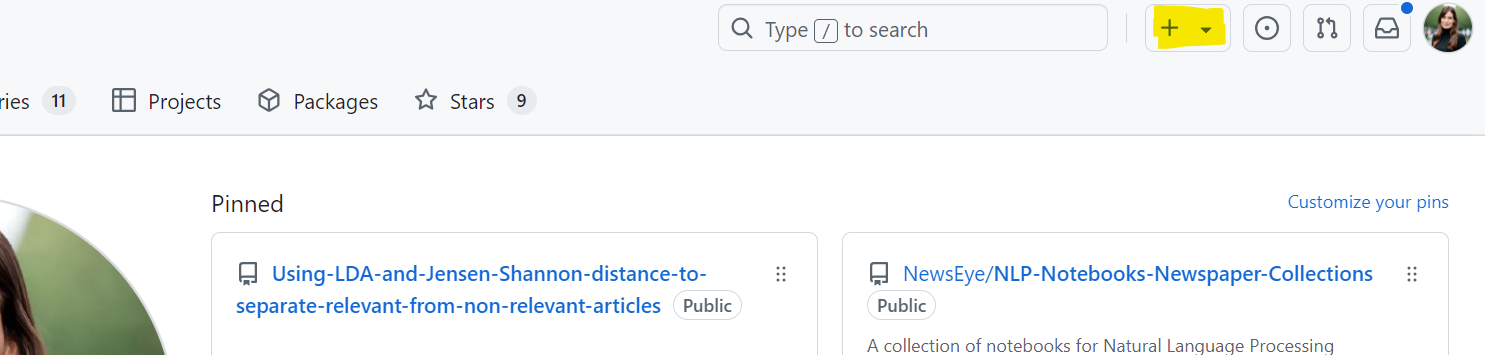
- Select "New repository" from the dropdown menu.
- Fill in the repository name.
- (Optional) Add a description for your repository.
- Choose whether the repository should be public or private.
- (Optional) Select "Initialize this repository with a README" (here you can explain what this repository is about).
- Click "Create repository".
Import Colab Notebooks into your GitHub Repository
- In Colab, go to
File > Save a copy in GitHub.
- If you haven't connected your GitHub account, you'll be prompted to do so.
- Choose the repository and file path where you want to save the notebook.
- Add a commit message and click "OK".
3. How to Add Collaborators to Your Repository
- Navigate to the main page of the repository on GitHub.
- Under your repository name, select Settings. If the "Settings" tab isn't visible, select Settings from the dropdown menu.
- In the sidebar under the "Access" section, select Collaborators.
- Click Add people.
- In the search field, start typing the name of the person you want to invite, then click their name in the list of matches.
- Click Add NAME to REPOSITORY.
- The user will receive an email inviting them to the repository. Once they accept the invitation, they will have collaborator access to your repository.
4. How to Create a HuggingFace Token
- Log in to your Hugging Face account.
- Click on your profile name in the upper right corner and select "Settings".
- Choose "Access Tokens" from the left menu.
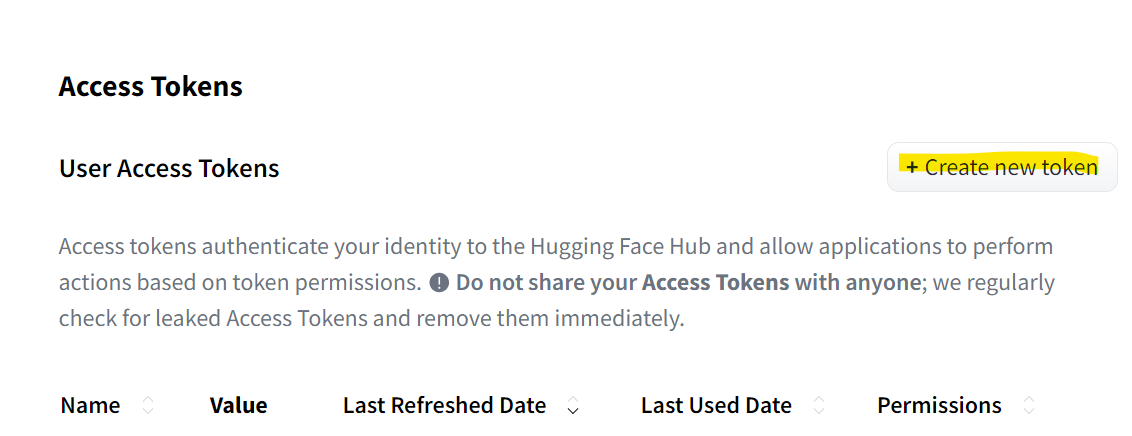
- Click on "Create new token".
- Enter a name for your token and select the desired permissions.
- Click on "Create".
- Copy the generated token and store it securely. It will only be shown once.